
Transporting a gas stove requires addressing an issue that most guides overlook: managing residual gas in the circuit and protecting sensitive internal components from shocks and tilting. Here, we discuss the technical points that make the difference between a functional appliance upon arrival and a stove that needs servicing.
Purge of the gas circuit and securing the hose before transport
A closed gas valve is not enough. Residual gas stagnates in the supply hose and in the internal distribution rail of the gas stove. Before any handling, we recommend closing the wall shut-off valve, then leaving one burner on for a few seconds until the flame goes out naturally. This action empties the hose and the internal circuit.
Read also : How to Choose the Best Potting Soil for Your Plants: Criteria and Practical Tips
The hose itself must be disconnected from the appliance side, never from the wall side. Seal the wall outlet with a threaded cap suitable for the diameter. A disconnected hose left open on the wall side poses a risk of carbon monoxide poisoning if the valve were to be inadvertently reopened.
Recent guidelines recommend installing a gas and carbon monoxide detector near any gas stove, including during the disconnection and reconnection phases. This precaution remains relevant during transport if the stove is temporarily stored in a closed space. To delve deeper into the tips for transporting gas stoves, the systematic disconnection of the gas circuit remains the non-negotiable starting point.
Further reading : Tips and Practical Advice to Simplify Your Daily Life Throughout the Seasons
Maximum tilt and transport position of a gas stove
CSA standards regulate the tilt of electric stoves with a maximum threshold of 30 degrees. For a gas stove, the risk is different but the logic remains the same: crown burners, injectors, and thermocouple valve springs do not tolerate prolonged positions on their back or side.
Transporting flat (on the back) causes two concrete problems. The weight of the cooking surface then rests on the knobs and control panel, which can deform or break. The burner injectors, screwed in vertically, can loosen due to vibrations if gravity no longer keeps them in their natural axis.
The vertical position, standing with the front protected, is the only reliable position. If the vehicle space does not allow it, a slight tilt backward (back panel down) remains acceptable as long as the appliance is secured to prevent it from tipping further while driving.
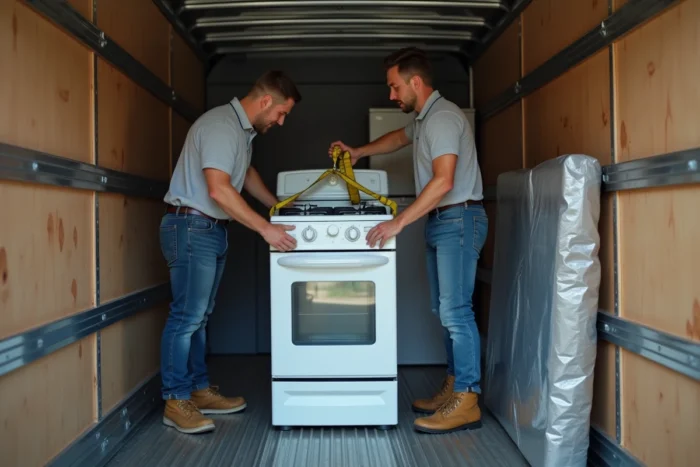
Securing in the utility vehicle
We observe that most damage occurs not during loading but during transit, due to slipping. The gas stove should be pressed against a wall of the vehicle, with the back facing the partition, and secured with two crossed ratchet straps in an X shape.
- Lower strap passed under the base of the appliance, fixed to the floor tie-down rings, with firm tension without crushing the adjustable legs
- Upper strap passed over the cooking surface, protected by a thick blanket to avoid scratching the enamel or bending the grates
- Wood or dense foam wedge between the bottom of the stove and the vehicle floor to absorb road vibrations
A cart with integrated straps facilitates loading but does not replace securing in the vehicle. These are two distinct devices.
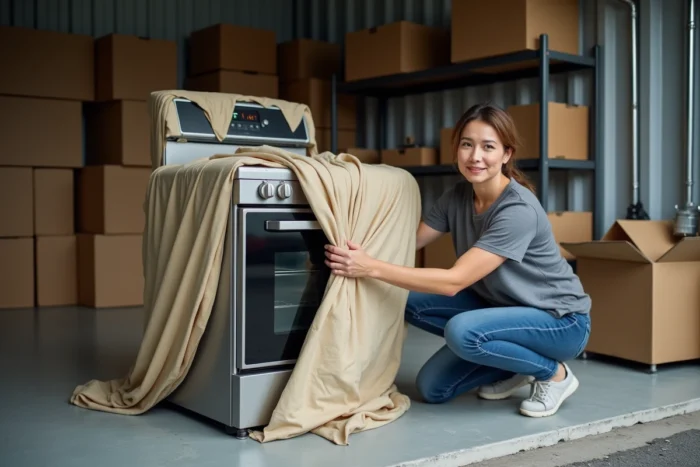
Protection of fragile components of a gas stove during moving
Cast iron grates, the flame guard plate, and burner caps must be removed before transport. These heavy and movable parts become projectiles during braking. We recommend wrapping them separately in kraft paper or corrugated cardboard, then placing them in a labeled rigid box.
The injectors remain in place but deserve a check upon reassembly. After transport, a loose injector alters the gas flow and produces an unstable yellow flame, a sign of incomplete combustion that generates carbon monoxide.
The control panel (knobs, piezo ignition buttons) is the most exposed area. Bubble wrap secured with wide adhesive tape is sufficient, provided that the tape is not stuck directly on the printed power markers. First, place a layer of cling film against the printed surface, then the bubble wrap on top.
Oven door and hinges
The oven door is hinged with spring hinges that do not withstand lateral shocks well. Close the door and secure it with two turns of wide adhesive tape connecting the door to the upper chassis. On models equipped with removable hinges, completely removing the door before transport eliminates the risk of deformation. The removed door can be transported flat, wrapped in a blanket.
Gas reconnection after transport: checks not to skip
The reconnection phase is where mistakes can be most costly. Before reconnecting the hose, visually check the condition of the sealing gasket at each end. A crushed or cracked gasket must be replaced; it cannot be reused.
- Connect the hose to the appliance side first, tighten by hand, then finish with a wrench (a quarter turn after metal-to-metal contact, no more)
- Open the wall valve and apply soapy water to each connection: any bubble indicates a leak that prohibits operation
- Light each burner individually, check the flame color (blue, stable, without lifting) and the proper functioning of the thermocouple by releasing the button after a few seconds
- Check that the oven pilot light, if the appliance has one, lights and remains stable with the door open and then closed
A certified PGN (Natural Gas Professional) can issue a certificate of conformity after reconnection. This document is not legally required for a simple move within the same residence, but it becomes necessary in case of a change of address if the insurer requests it.
Transporting a gas stove boils down to three disciplines: emptying and securing the gas circuit, keeping the appliance vertical and secured, and then checking each connection upon reconnection. Each neglected step incurs repair costs or health risks. The soapy water test after reconnection remains the simplest and most reliable gesture to validate the entire operation.